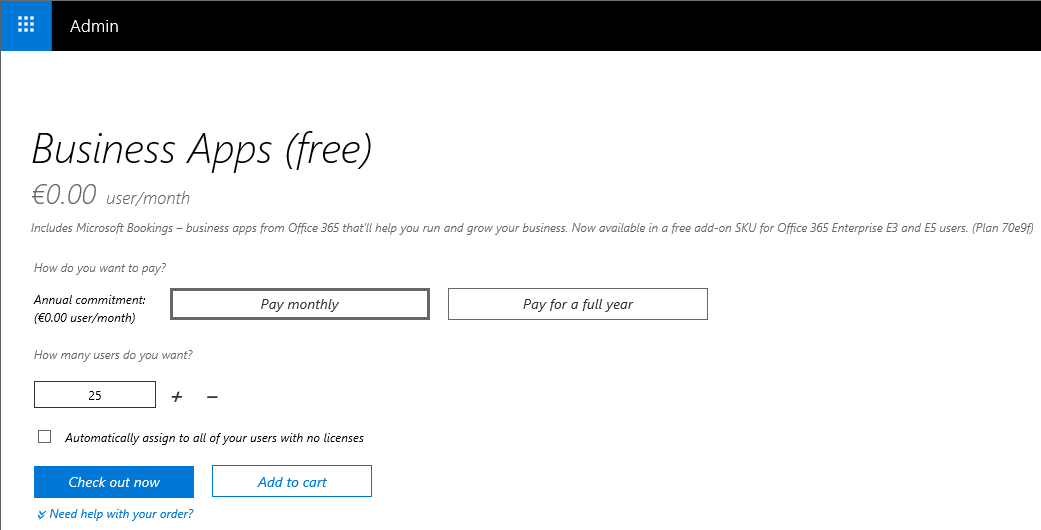
In case you have missed it, Microsoft has rolled out a refresh of the “purchase services” UI found in the Office 365 Admin center under the Billing menu. One you navigate to the page and select the service to buy or try, you will be presented with the following page:
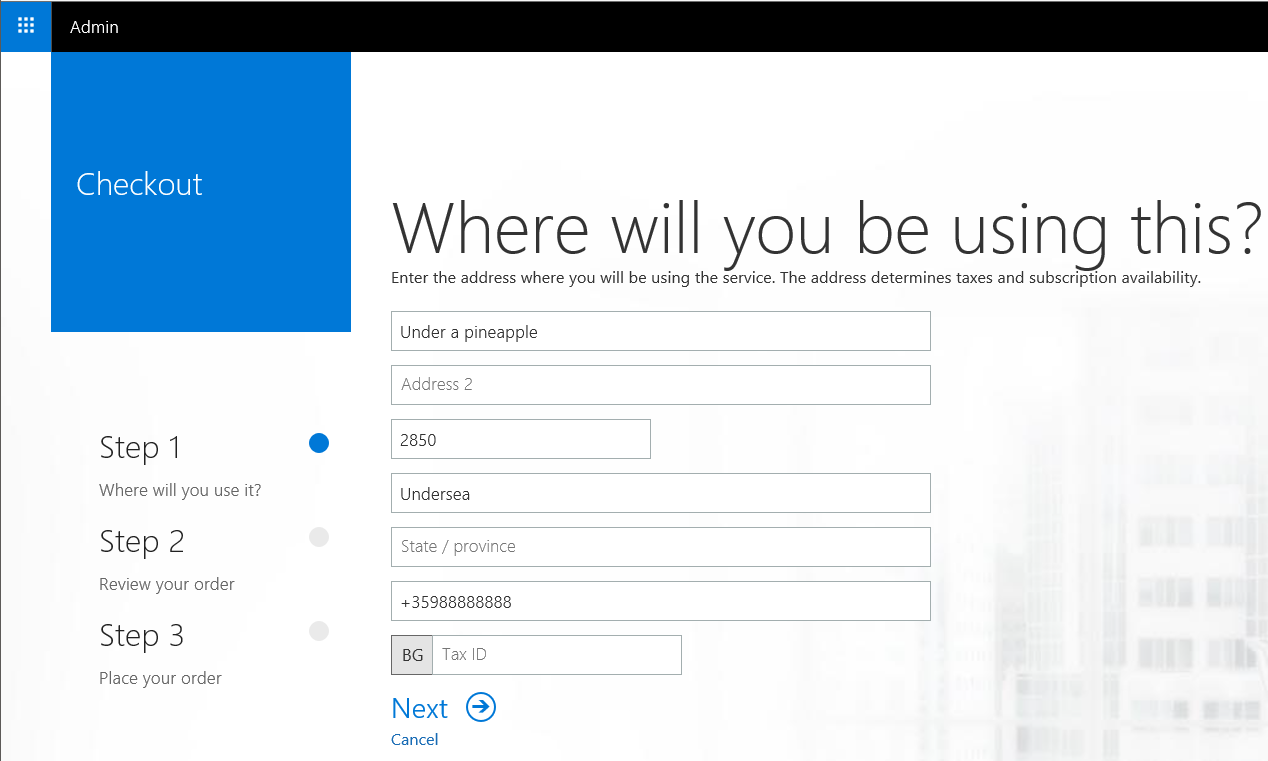
Pressing the Check out now button will then take you to the first step of the new Checkout wizard, where you will need to provide the business address used for invoicing. Most of the information presented there will be prepopulated based on the tenant information, but you can make any changes as necessary:
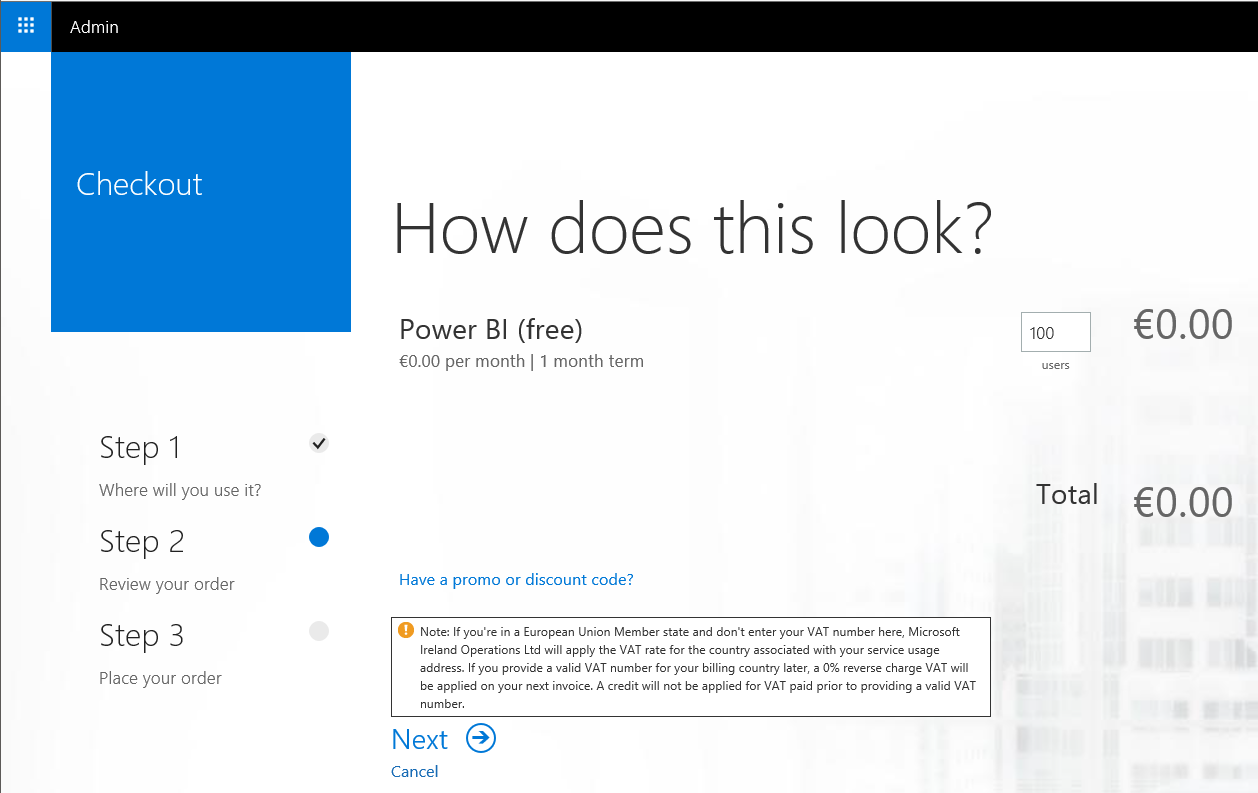
On the next page, you will be able to review the order details, make adjustments to the number of licenses purchased or apply a discount code:
Once you are done with that part, you can place your order and provide the payment method and any associated details. Note that this information will be needed even for free services, in which case you will probably prefer to not provide a credit card details but use the Invoice method instead.
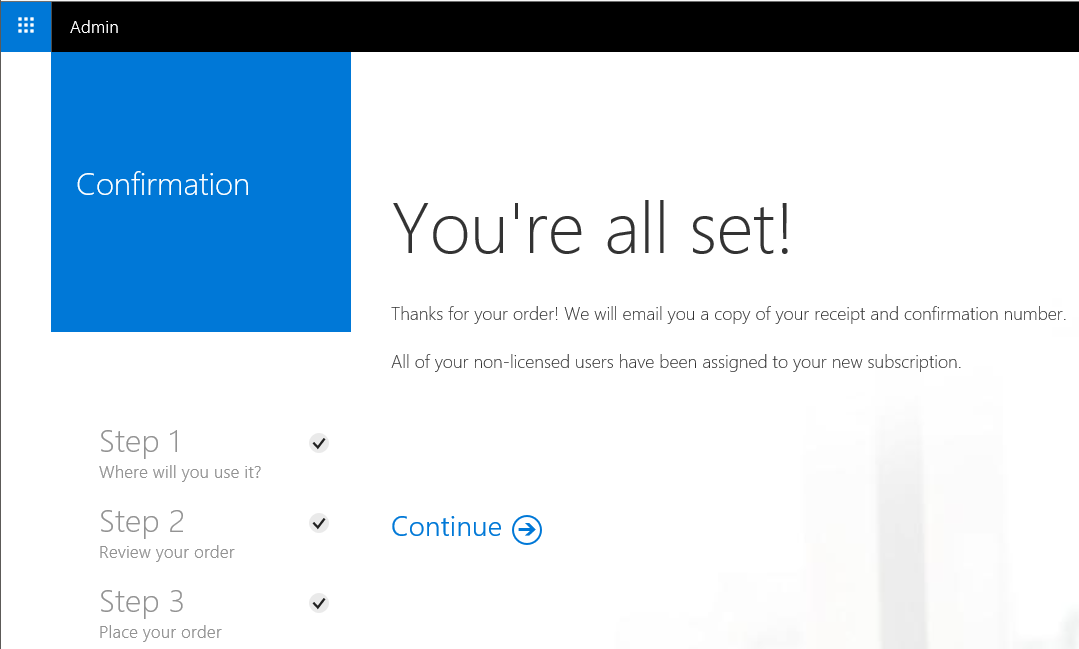
On the same page you can also add Partner information if needed. The last step is pressing the Place order link, which completes the process and takes you to the summary page:
And that’s all there is to it.


